Sites
The Sites section manages the physical or logical locations associated with a customer. Use it to organize monitored infrastructure by location and to associate groups and contacts with each site.
Opening the Sites Section
From the main navigation menu, go to Customers → Client Repository → Sites.
The interface opens with a pre-filter dialog. Fill in one or more fields to narrow the search, then click APPLY.
| Filter field | Description |
|---|---|
| Code | Unique identifier of the site |
| Type | Classification of the site (for example Branch, Data Center) |
| Description | Name or label of the location |
| Address | Street address |
| ZIP | Postal code |
| City | City name |
| State Province | State or province |
| Country | Country |
| Customer | Organization the site belongs to |
| Status | Active or Disabled |
| Notes | Optional notes |
Leave all fields empty and click APPLY to load all available sites.
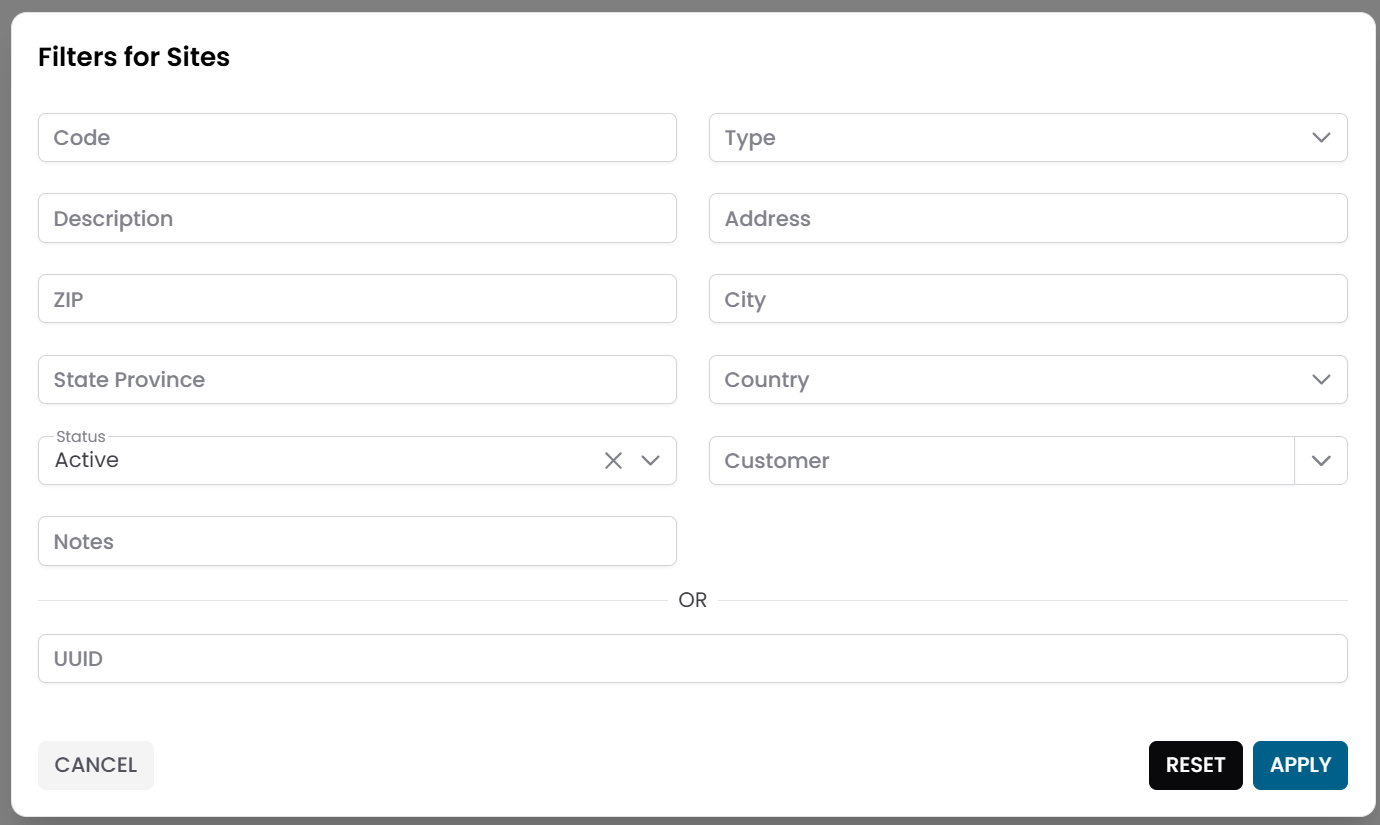
Fig.1 - Sites pre-filter dialog
Sites Table
After applying the filter, the results appear in a table where each row represents a site.
Typical columns include:
- Code
- Description
- ZIP
- City
- Status
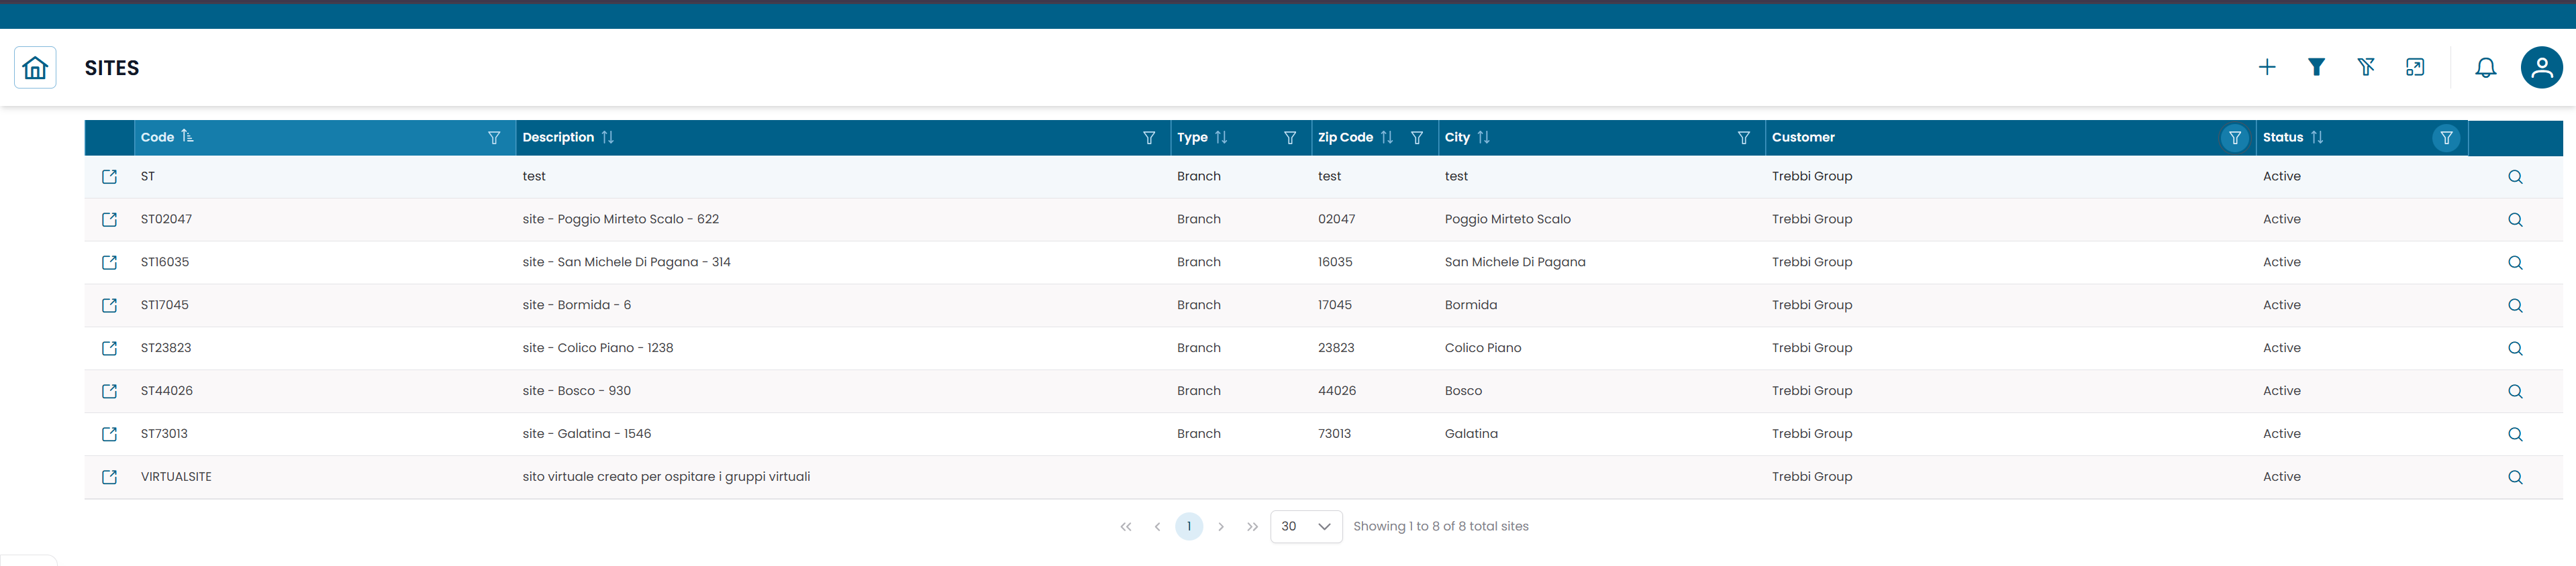
Fig.2 - Sites results table
Site Details
Click the search icon (🔍) on any row to open the site record.
The CRUD dialog displays the full information for the site:
| Field | Description |
|---|---|
| Code | Unique identifier of the site |
| Type | Classification (for example Branch, Data Center) |
| Description | Name or label of the location |
| Address | Street address |
| ZIP | Postal code |
| City | City name |
| State Province | State or province |
| Country | Country |
| Customer | Organization the site belongs to |
| Status | Active or Disabled |
| Notes | Optional notes |
From this dialog you can:
- edit the site information
- duplicate the record
- delete the record
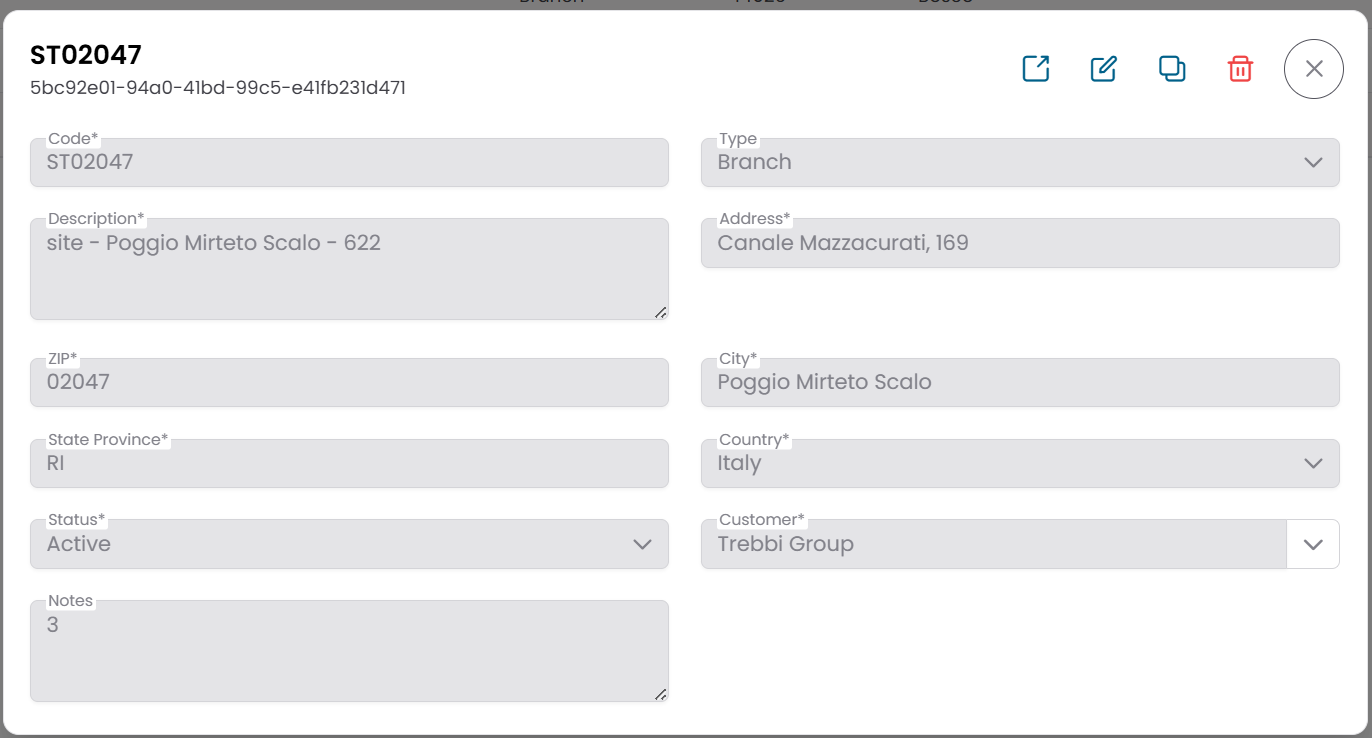
Fig.3 - Site detail dialog
Site Structure View
Click the link icon (🔗) on any row to open the Site Structure View.
The page is divided into two areas:
- a site information panel on the left
- a hierarchical navigation area on the right
The hierarchy displays the infrastructure entities associated with the site, descending through:
- Groups
- Objects
- Metric Types
- Metrics
Use this view to navigate the monitored infrastructure organized under the selected site.
For a detailed explanation of how to use this view, see Tree Hierarchy View.
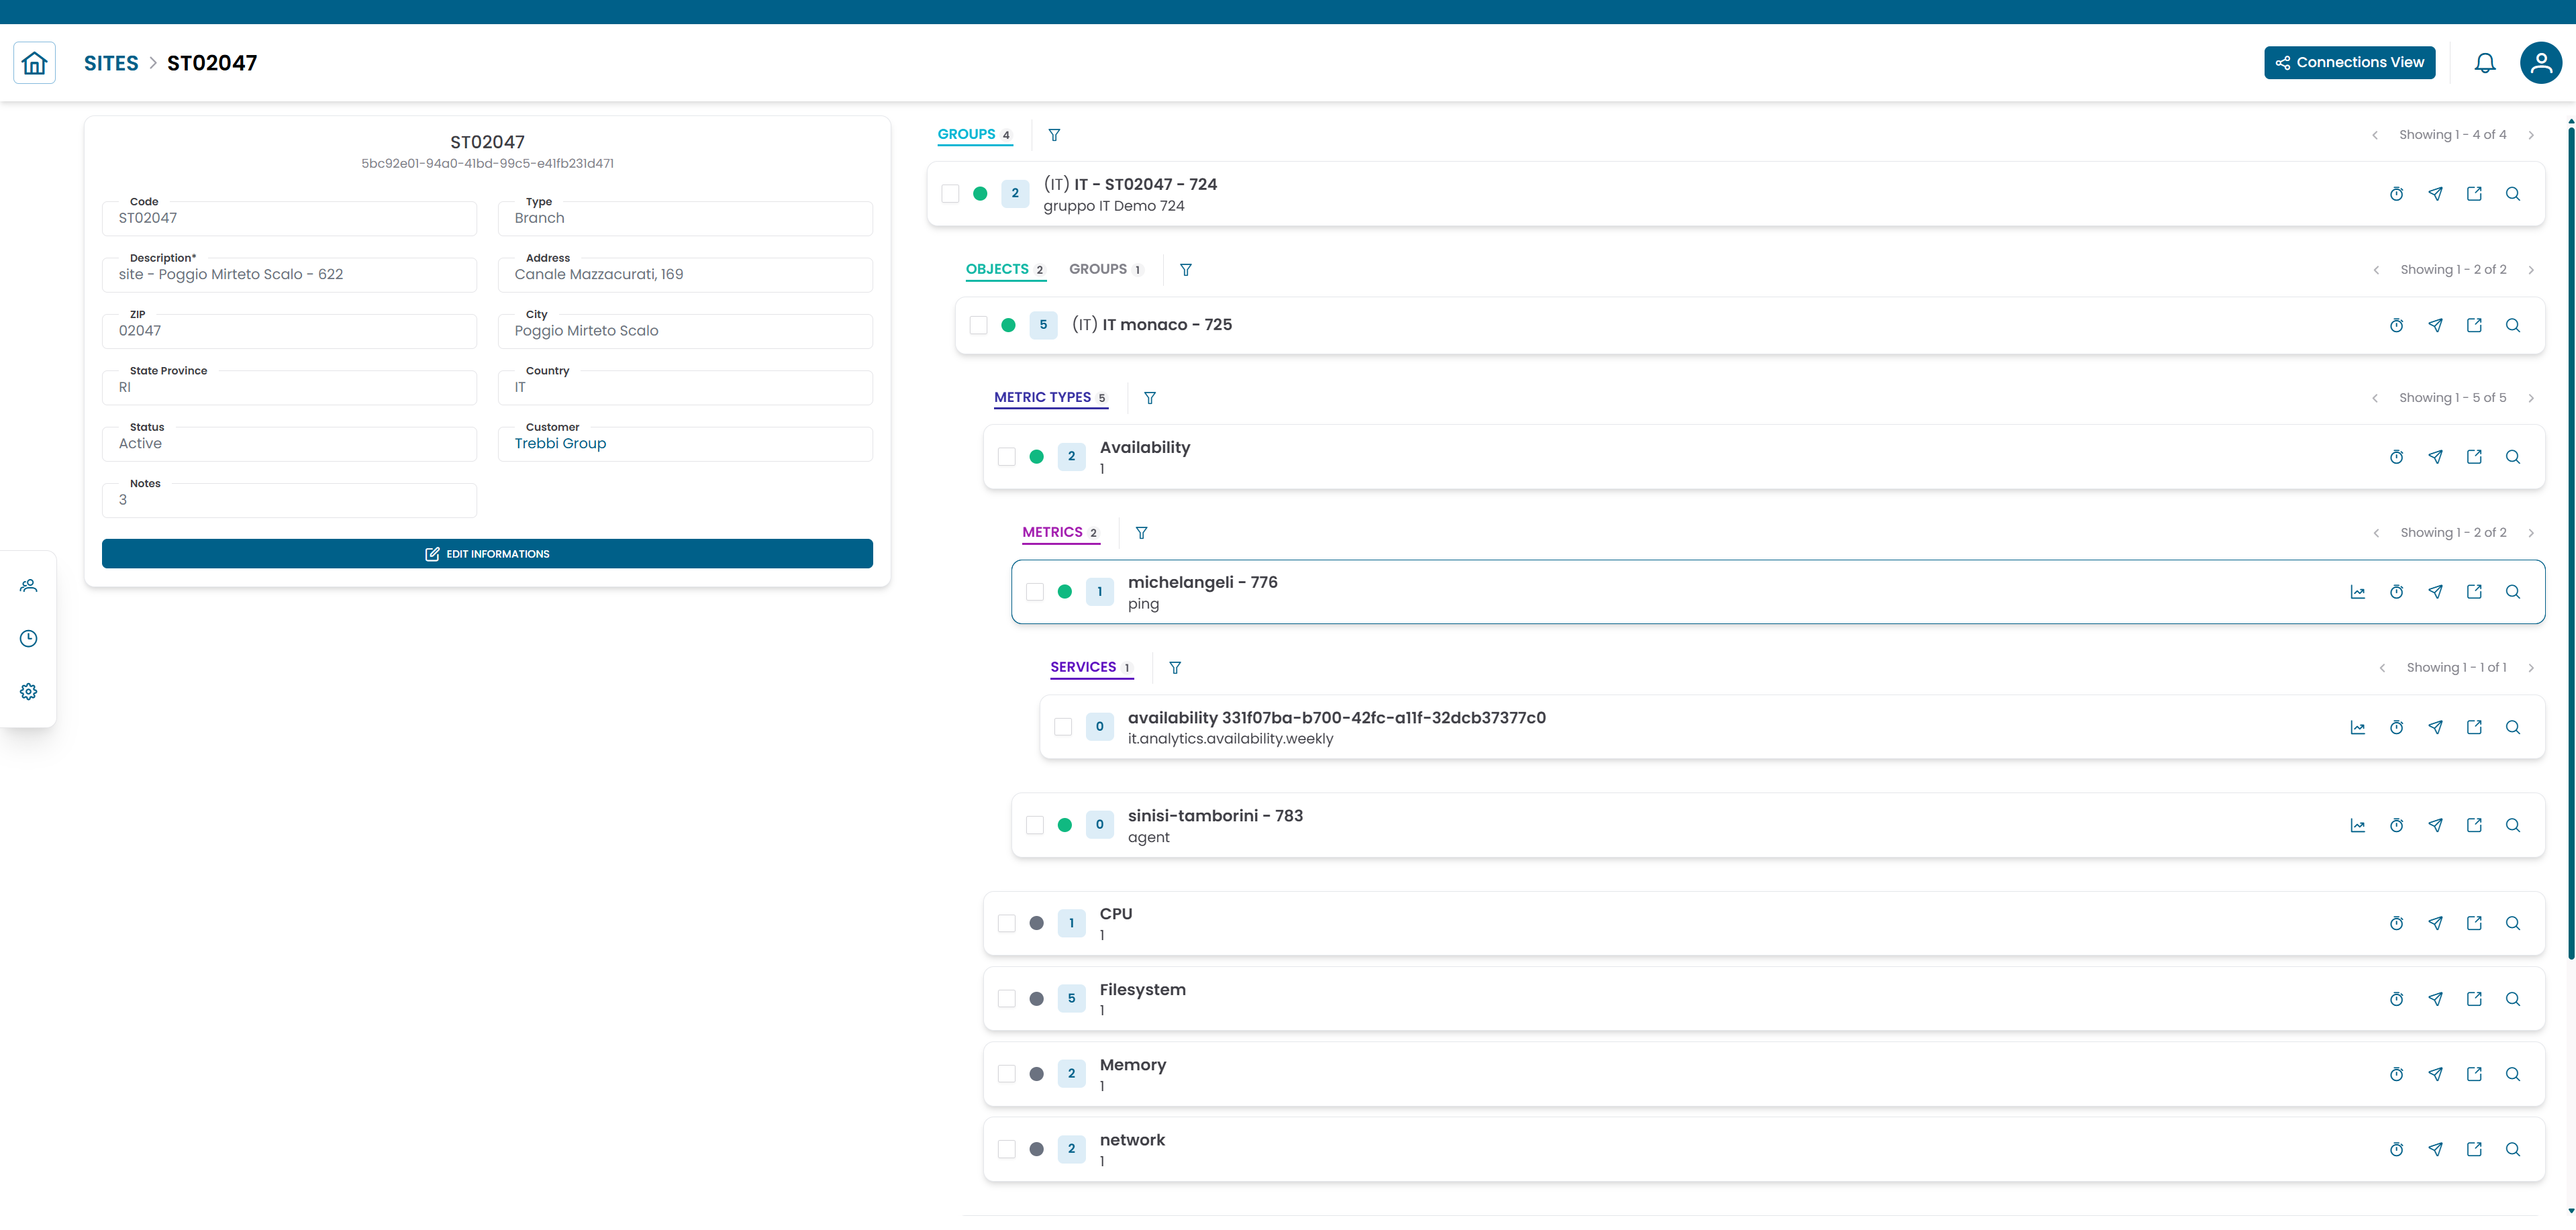
Fig.4 - Site structure view
Connections View
From the Site Structure View, click Connections to switch to the Connections View.
This view shows the entities linked to the site:
| Tab | Description |
|---|---|
| Groups | Infrastructure groups located at this site |
| Contacts | People associated with this site |
Linking a group or contact to a site
- Open the Connections View for the site.
- Select the Groups or Contacts tab.
- Click ADD.
- Select the entity from the list.
- Click SAVE CHANGES.
Removing a link
To remove an existing association, select the row and click DELETE.
Warning
Removing a link does not delete the group or contact record — it only removes the association with this site.
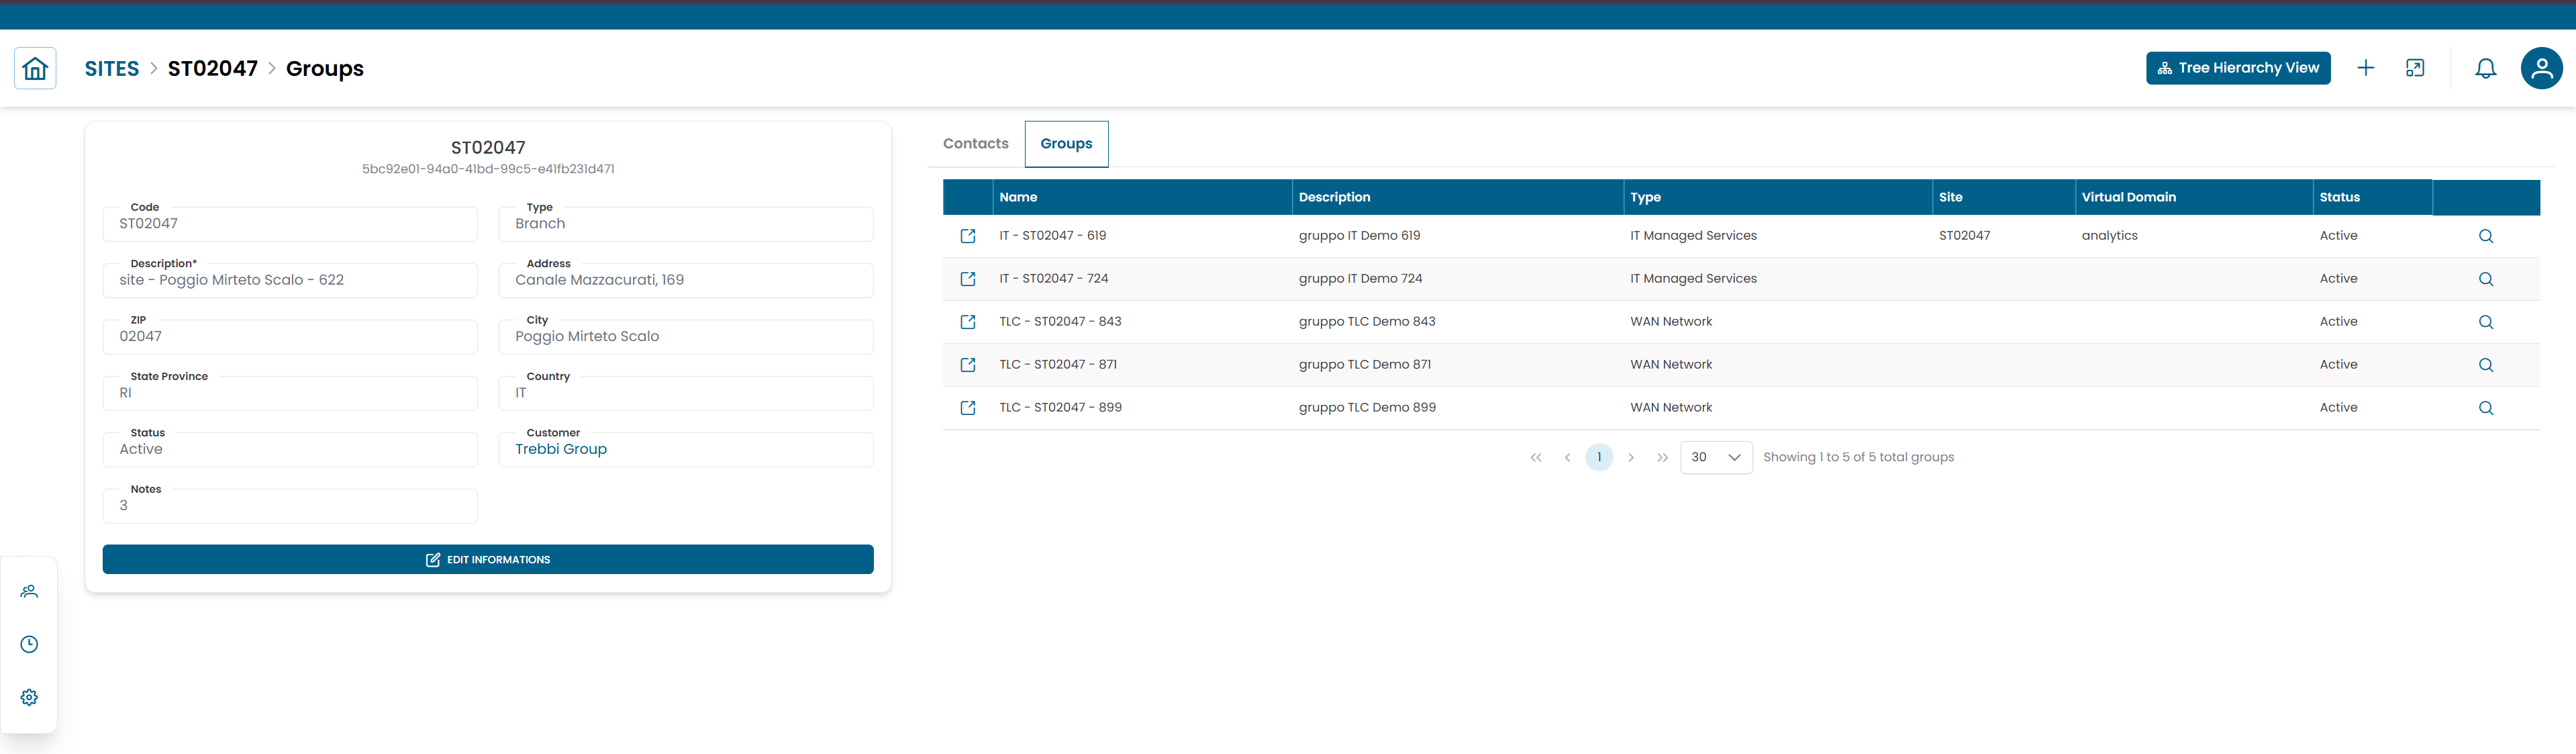
Fig.5 - Site connections view
Note
To manage the contacts associated with a site, see Contacts. To navigate the infrastructure hierarchy in detail, see Tree Hierarchy View.