Contacts
The Contacts section manages the people associated with customers and sites monitored by XAUTOMATA. Use it to maintain a directory of technical, operational, and administrative contacts for each organization.
Opening the Contacts Section
From the main navigation menu, go to Customers → Client Repository → Contacts.
The interface opens with a pre-filter dialog. Fill in one or more fields to narrow the search, then click APPLY.
| Filter field | Description |
|---|---|
| Name | First or last name of the contact |
| Surname | Last name |
| Company | Organization the contact belongs to |
| Primary or secondary email address | |
| Status | Active or Disabled |
Leave all fields empty and click APPLY to load all available contacts.
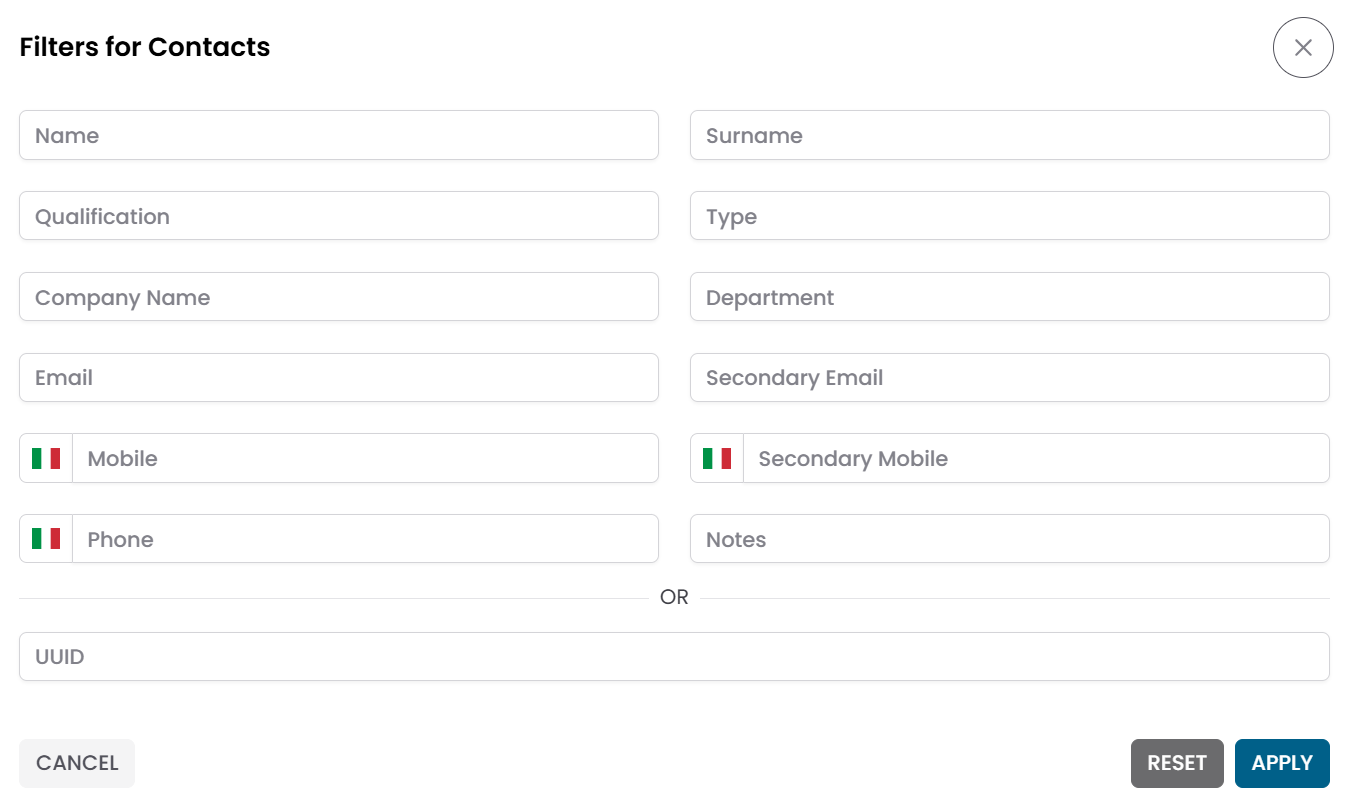
Fig.1 - Contacts pre-filter dialog
Contacts Table
After applying the filter, the results appear in a table where each row represents a contact.
Typical columns include:
- Name and Surname
- Company
- Phone
- Status
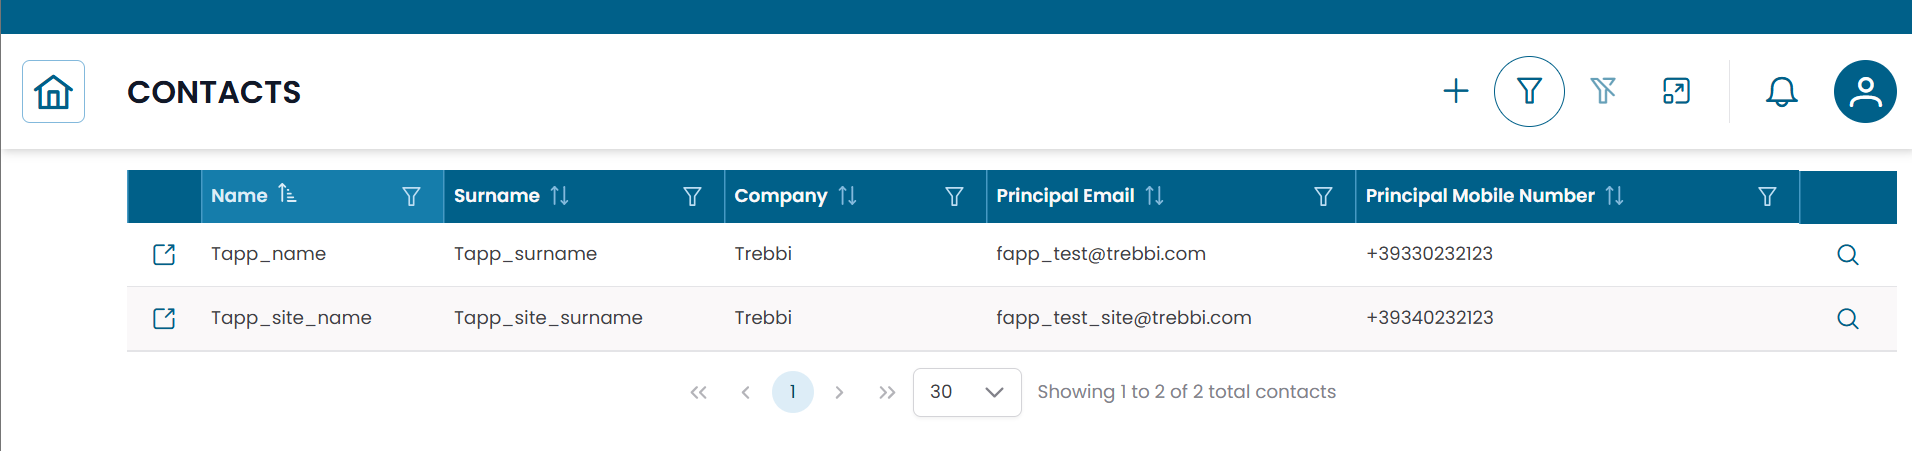
Fig.2 - Contacts results table
Contact Details
Click the search icon (🔍) on any row to open the contact record.
The CRUD dialog displays the full set of information for the contact:
| Field | Description |
|---|---|
| Name | First name |
| Surname | Last name |
| Qualification | Role or job title |
| Company | Organization |
| Department | Internal department or team |
| Primary email address | |
| Email 2 | Secondary email address |
| Mobile | Mobile phone number |
| Phone | Office phone number |
| Status | Active or Disabled |
| Notes | Optional notes |
From this dialog you can:
- edit the contact information
- duplicate the record
- delete the record

Fig.3 - Contact detail dialog
Creating a New Contact
To add a new contact, click NEW in the top-right area of the contacts table.
Fill in the fields in the CRUD dialog, then click SAVE CHANGES.
Note
At minimum, fill in Name, Surname, and Status. Email and phone fields are optional but recommended to make the contact useful for operational purposes.
Connections View
Click the link icon (🔗) on any row to open the Connections View for that contact.
This view shows the entities the contact is linked to, organized in tabs:
| Tab | Description |
|---|---|
| Customers | Organizations this contact is associated with |
| Sites | Sites this contact is responsible for |
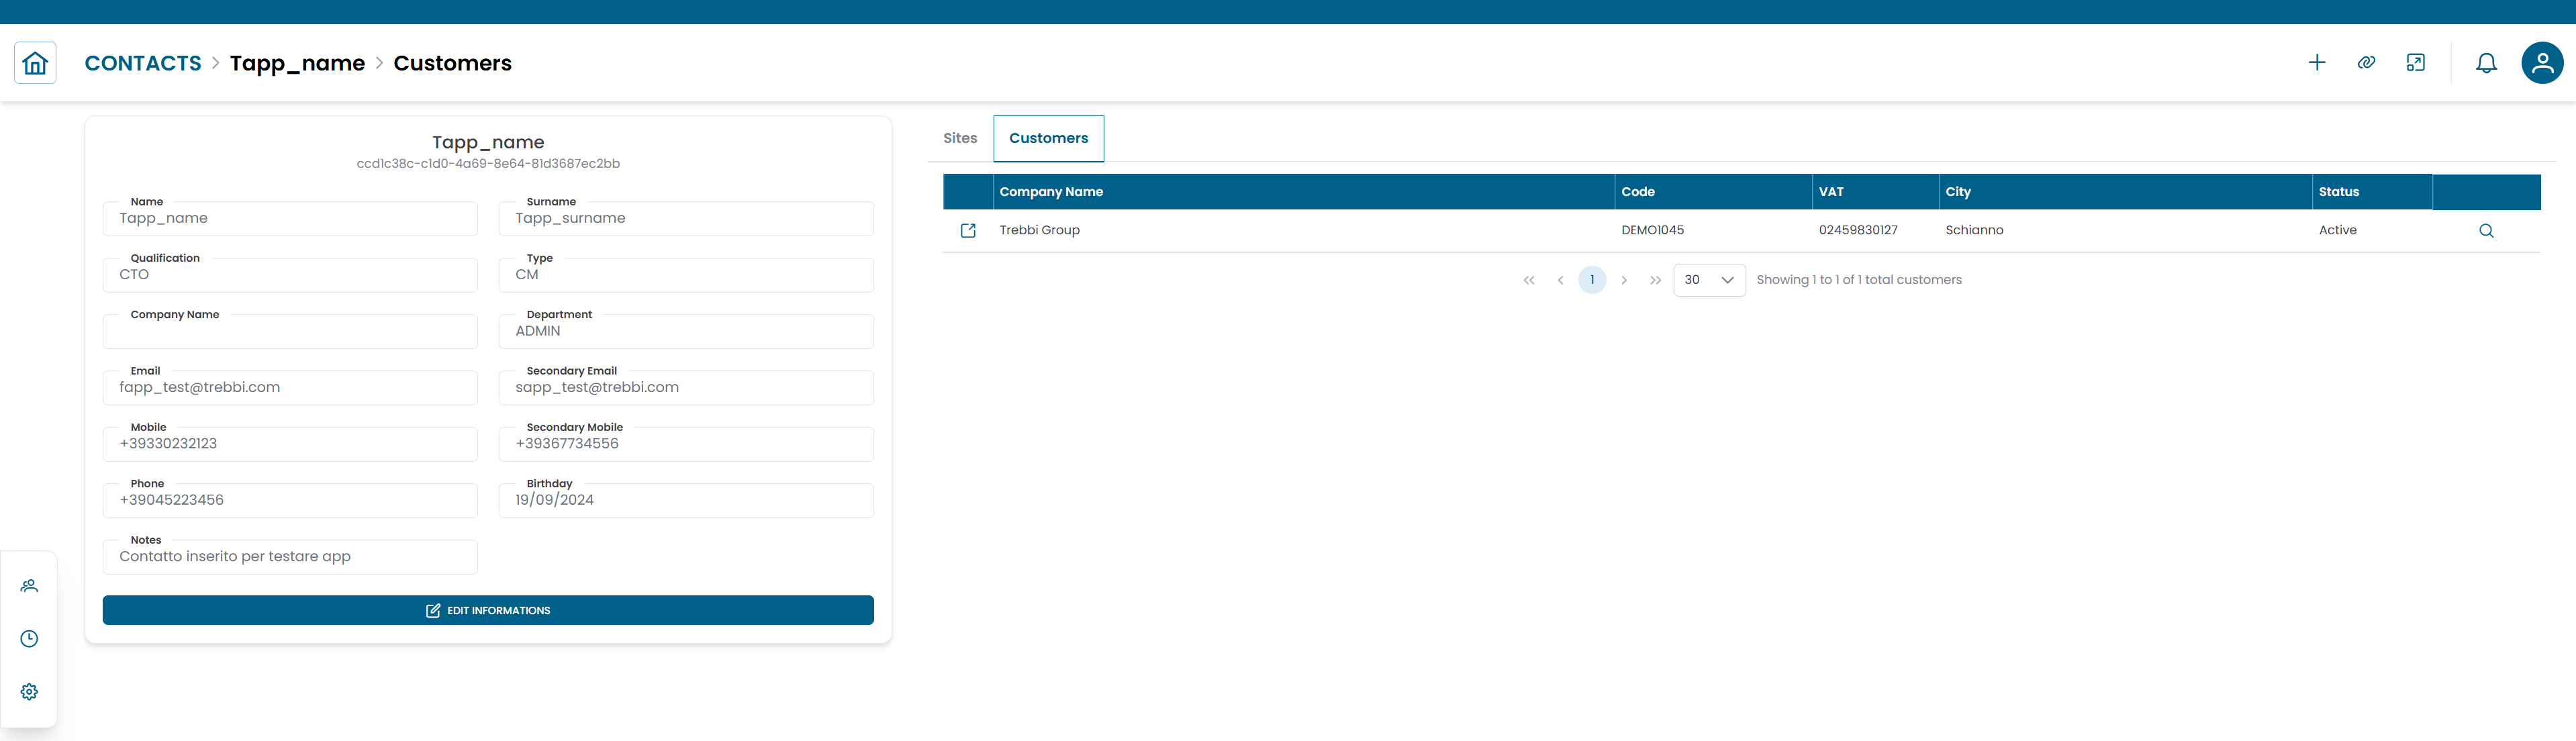
Fig.4 - Contact connections view
Linking a contact to a customer or site
- Open the Connections View for the contact.
- Select the Customers or Sites tab.
- Click ADD to create a new link.
- Select the target entity from the list.
- Specify the relationship type to describe the contact's role (for example: Technical Manager, Service Contact, Escalation Contact).
- Click SAVE CHANGES.
Removing a link
To remove an existing association, select the row in the connections tab and click DELETE.
Warning
Removing a link does not delete the contact record — it only removes the association with that customer or site.