Generating XAL
Once a scenario is ready in the scenario tab, you can generate the XAL file with a single click.
Triggering generation
Open the scenario tab and click Generate XAL in the action bar below the scenario content.
The button is only active when a scenario is present and no generation is already in progress.
The pipeline runs in two steps, shown in the status area of the chat panel:
- Generating the graph… — Arianna produces an intermediate GraphViz
.dotrepresentation of the automaton based on the scenario. - Converting to XAL… — the
.dotfile is passed to the Xautomata converter, which produces the final XAL.
When both steps complete successfully, the XAL file is created (or overwritten) in the repository explorer, loaded into the Designer graph, and linked to the current session.
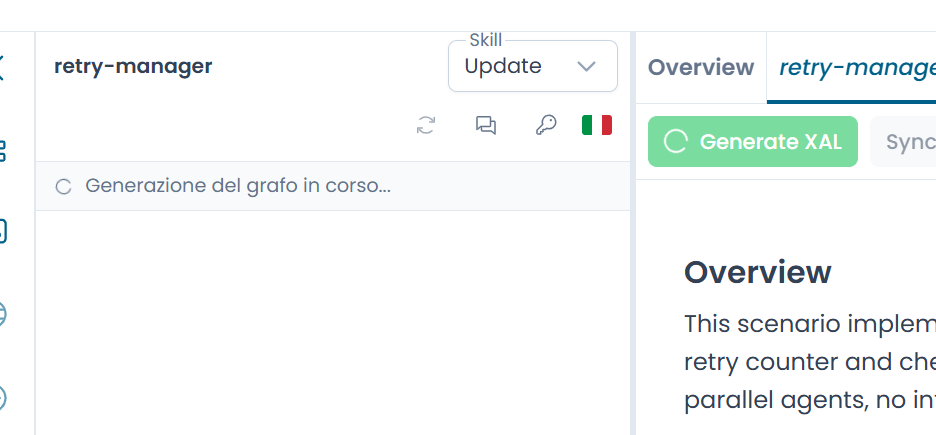
Fig.1 - Status messages during XAL generation
Automatic retry on validation errors
If the generated XAL fails validation, Arianna automatically retries up to two more times (three attempts total). On each retry, it passes the full history of validation errors to Claude so that the same mistake is not repeated. The status area shows the current attempt number.
Most validation errors are resolved within the first retry.
If all attempts fail
If all three attempts produce an invalid XAL, the chat panel shows:
- the validation errors in plain text
- a Download XAL button — the last generated XAL, even if invalid; in many cases it is nearly correct and a small manual edit is enough to fix it
- a Download .dot button (under an Advanced section) — the last GraphViz source file, for users who want to correct it manually and pass it through the converter themselves
Note
A failed generation does not overwrite any existing .xal file in the repository. The previous version is preserved.
Global State variables
After a successful conversion, Arianna automatically populates the GlobalState variables of each automaton based on the variables listed in the scenario. This step runs silently — you do not need to trigger it manually. The populated variables are immediately visible in the Global State Variables panel.
If the scenario does not list any variables, a default placeholder is used and can be adjusted manually in the Designer.